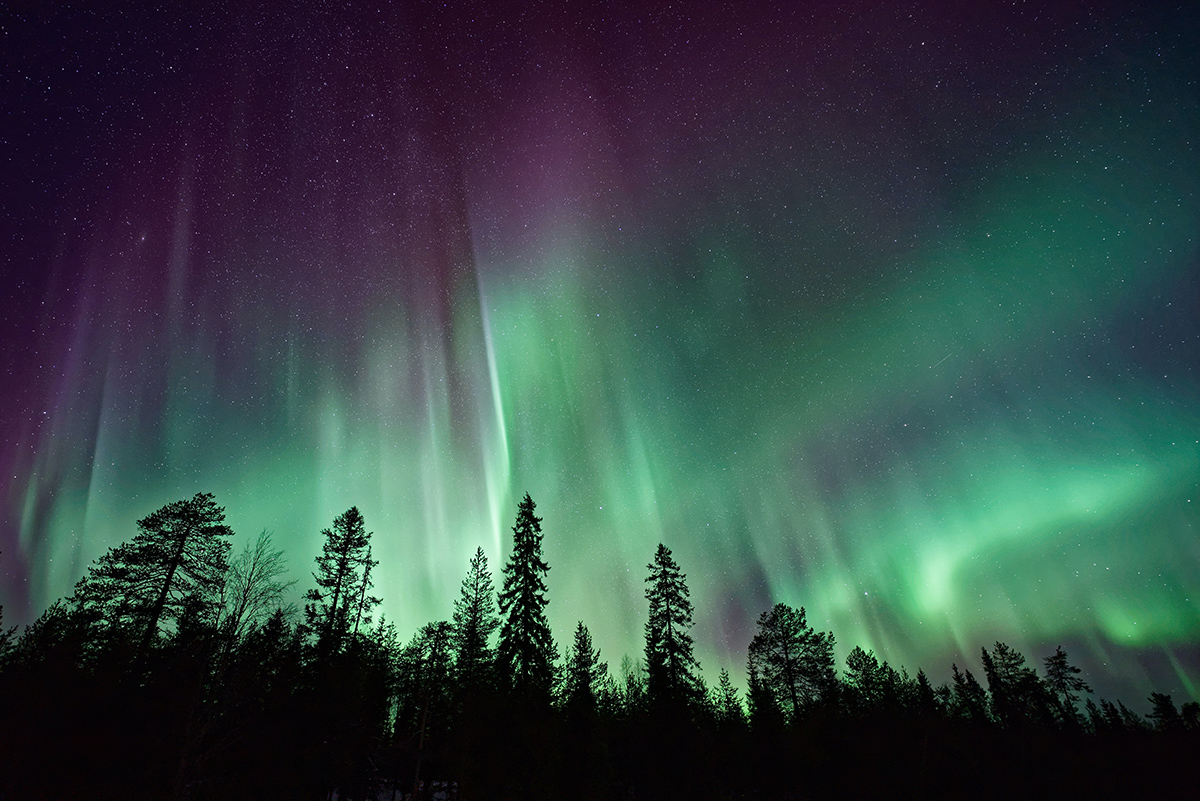
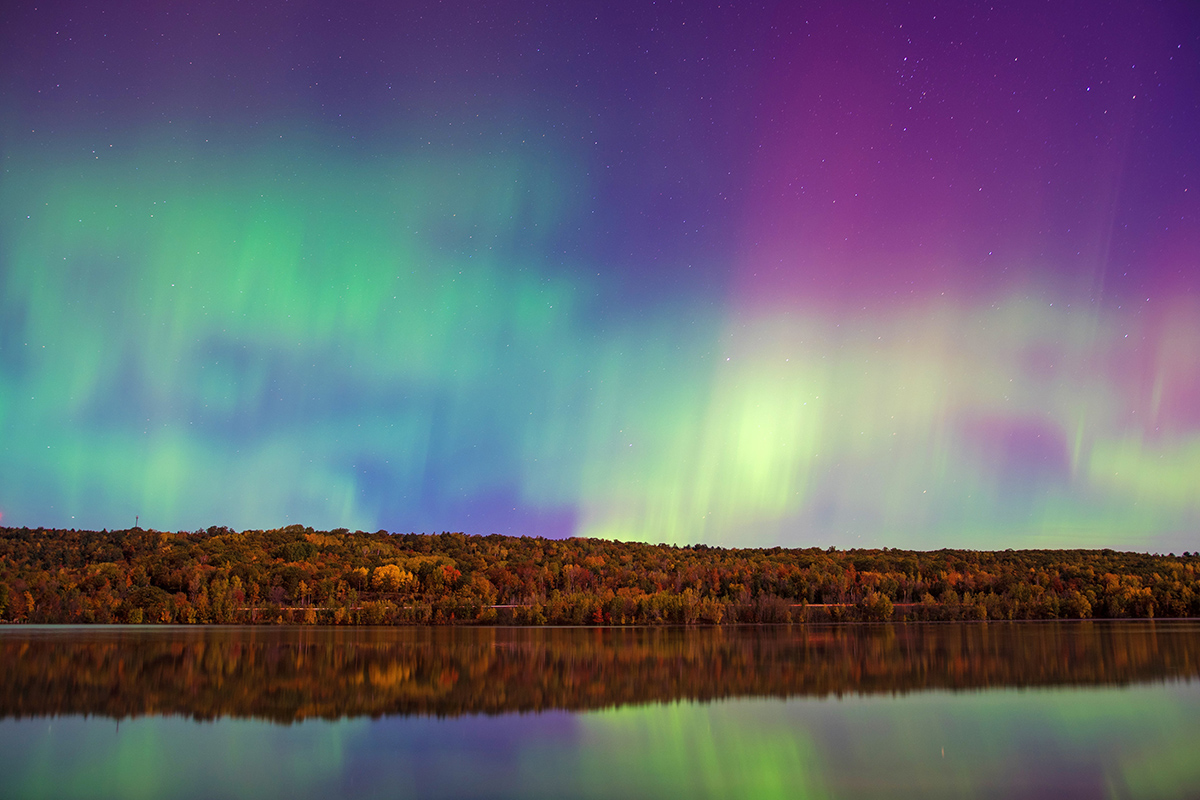
If seeing the Northern Lights (and getting a great photo) is on your bucket list, then it helps to know that the sun has seasons. The peak of those seasons occurs in 11-year cycles and culminates in what is called a “solar max.” And as it turns out, 2012-2013 is supposed to be a peak of this solar cycle. The side benefit for travelers and explorers is that these solar-max periods create a higher likelihood for aurora borealis, better known as the Northern Lights. Scottish photographer Jim Henderson, who has documented the Northern Lights for decades, recommends travelers not plan a vacation purely around seeing the Northern Lights because the effect is so unpredictable. If you’re going, make sure to plan other side interests (think dogsledding and hot-tub soaks), so that if you come home without a view of this spectacle, you’ll still have had an enjoyable excursion. So book your ticket, find your down jacket and pull on your snow boots; it’s time to try to check “photograph the aurora borealis” off your bucket list.
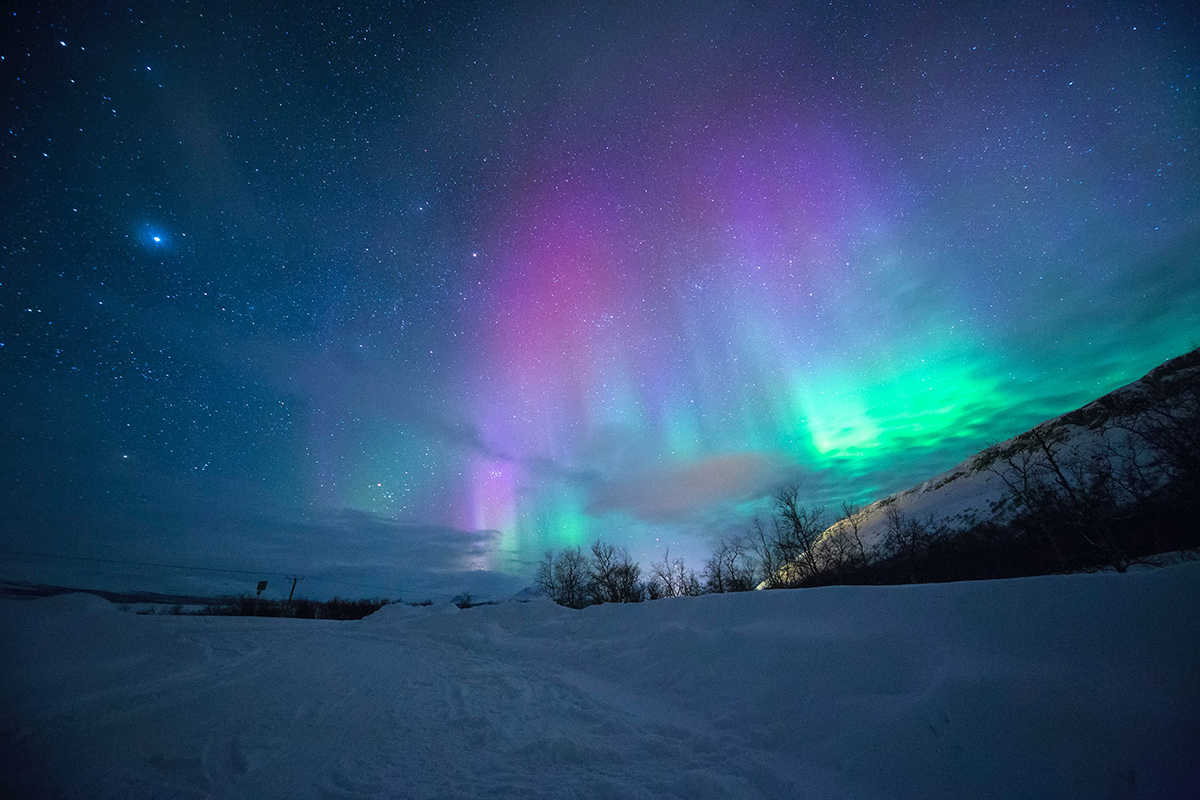
The lights are a byproduct of solar-powered magnetic disturbances which involve charged particles in the upper atmosphere. Depending on where in the atmosphere the magnetic and electric change is happening, it will create aurora effects of different colors. Green is the most prominent color, and winter is the most likely time to see the lights.
Alaska is a popular destination for spotting the Northern Lights, in the area north of Fairbanks. Get out into rural and uninhabited areas, away from the streetlights to see the effect the best. The University of Alaska Fairbanks maintains a website that provides a daily aurora forecast, not only for Alaska, but for the entire Arctic lights show. Norway is marketing itself as a Northern Lights destination and claims to have one of the best displays of this effect. However, it’s neighboring Sweden that has the “Blue Hole of Abisko” area, which has unique weather characteristics that make it likely to see the aurora borealis. Other top destinations include Canada, Greenland, Iceland, Finland, Russia and even Scotland.
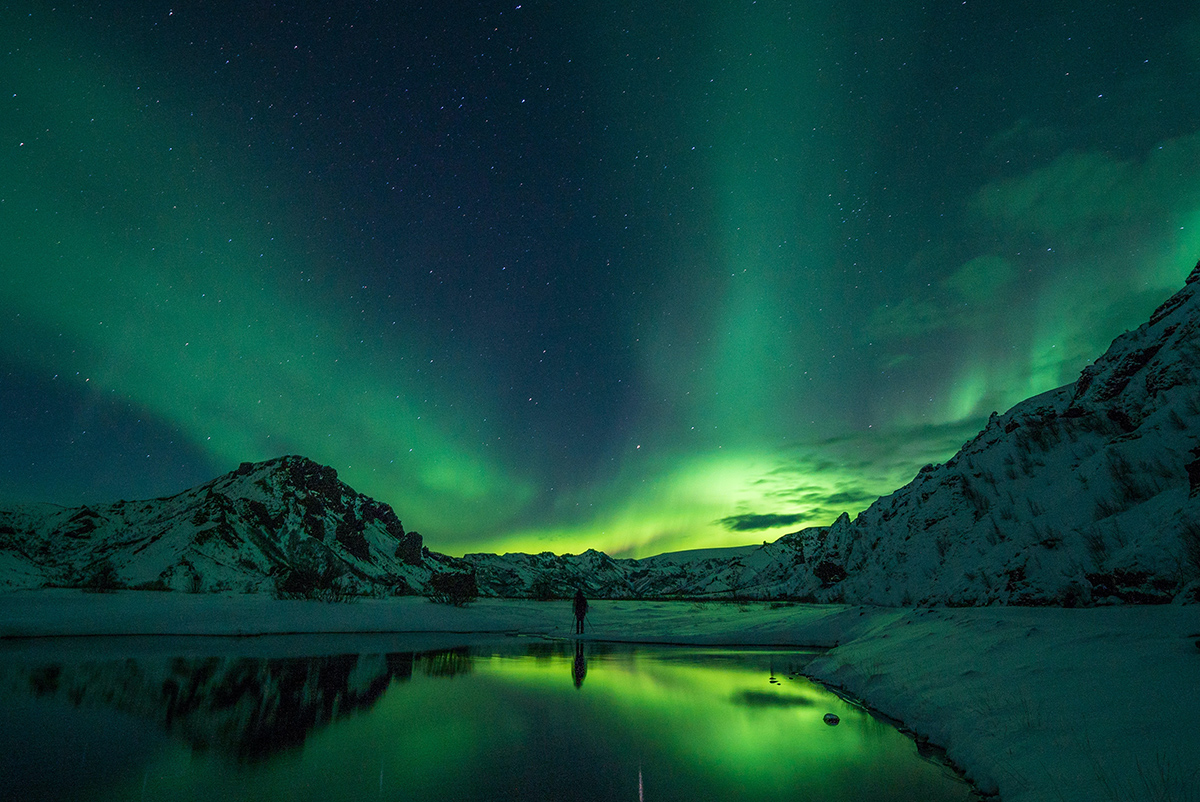
Here in the northern hemisphere, we refer to the Northern Lights (aurora borealis), but the effect also occurs in the southern hemisphere over Antarctica and other extreme southern regions. It’s referred to as aurora australis, and can be seen from not only Antarctica, but sometimes from New Zealand, Australia and the bottom of South America.
Whether you’re up north or down south, you need to find a clear night and wait. The light switch that turns on these lights is a product of complex natural forces, but if you want more tips, we recommend you geek out on the website of the Space Weather Prediction Center. Alternatively, you can follow Henderson’s simple tips: “Find a good spot with a clear view to the north with minimum light pollution between you and it, [and take a] flask and music and sit it out.”
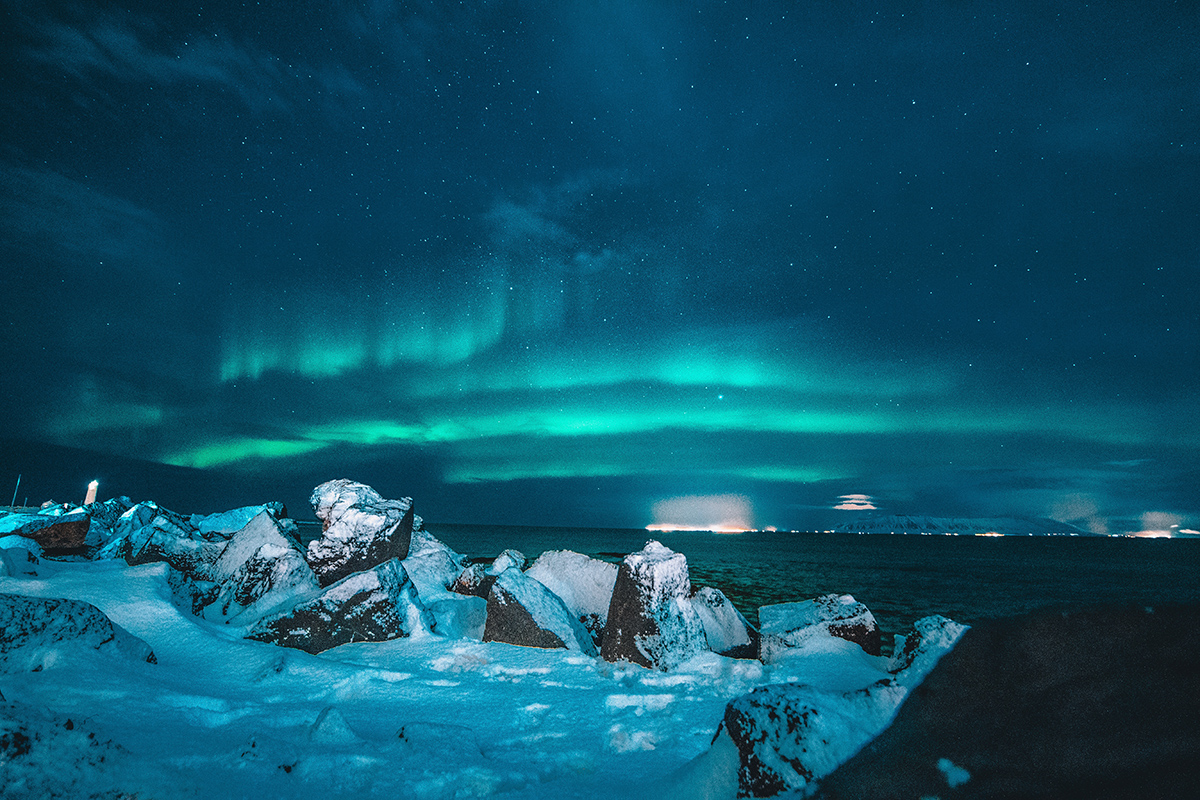
Photographing the Aurora Borealis
As elusive as the Northern Lights can be, the last thing you want to be is fumbling around in your backpack for a camera when the magic appears overhead. We asked Henderson (author of “The Aurora: An Introduction for Observers and Photographers”) and Jan Curtis, a climatologist whose photos of the aurora borealis in Alaska have appeared on the cover of Nature and National Geographic magazines, to share their tips for photographing the high-atmosphere effect.
Go manual: Don’t point and shoot, is Jim Henderson’s advice. He says the propensity of most ordinary photographers is to hold the camera in one hand and have the flash set on “auto.” He guarantees you will not earn a photo of the aurora if you do this. Instead, learn the settings on your camera. The best recommendation is for a D-SLR camera; these offer full manual controls and more powerful settings. Even if you’re using a compact, all-in-one camera, it would behoove you to read your manual and find out how to access digital menus which allow you to manually control elements like exposure time, aperture and ISO.
Go wide: The Northern Lights can stretch across the sky, so Jan recommends using a wide-angle lens.
Open it up: Jan says the lens should be set on “the largest or second largest aperture.” On cameras this is measured as the “f-stop.” A smaller number (e.g., f/2.8) equals a larger aperture.
Exposure yourself: “Exposures of 5 to 12 seconds work well unless the aurora is faint or mostly stationary, in which case the exposure time should be doubled,” says Henderson. “If the aurora is bright, moonlight and city lights should not interfere and can offer an interesting foreground.” Curtis recommends photographers bracket their exposure lengths. He suggests taking a 5-second exposure, then a 10-second exposure, and then a 15-second exposure. Sometimes with the long exposures, you might even find that you pick up a meteor streak among the background stars.
Focus: Those lights are miles above your head, so the focus should be on “infinity” if your lens has that setting. To add interest to your photograph, Henderson advises, “It is best to find a foreground silhouette—like a tree or an old, ruined building—and let the camera focus on that, but it must be well away from you so any loss of depth of field using a wide-open aperture still allows the sky and stars to remain in focus.”
Pick an ISO: Jan recommends an “ISO (old ASA) setting of 400 or 800,” which, he says, “is a good compromise between detail and quality of the image,” but Henderson recommends trying a very high ISO since today’s new cameras can support a higher ISO (sensitivity) without adding noise into the image. One of his favorite recent aurora images was taken “at an ISO of 6400, for 7 seconds using my Nikon D700, a f/2.8 max aperture and a 24mm wide-angle lens.”
Stabilize the camera: Because you’ll be taking long exposures, it is essential to minimize camera movement. Use a tripod or set the camera atop a wall (a small camera bean bag will allow you to set the angle). Just the effect of pressing a camera button can add a surprising amount of movement to a photograph. To avoid that, Henderson recommends using a cable release or a shutter timer delay to automatically trigger the exposure.
Batteries: Having lived and worked in Alaska, and as a trained climatologist, Jan knows the effects of cold weather, and one of those effects is that it shortens the charged life of a battery. Keep your batteries charged and warm until you’re ready to shoot; Henderson recommends photographers new to the northern environments carry spare batteries.
